The Automobiles Blog
How to Capture the Perfect Street Food Photo
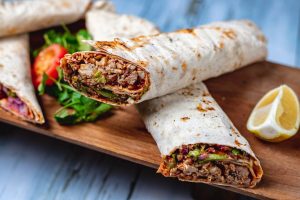
Street food is more than just a meal—a vibrant expression of culture, colour, and character. Whether you’re sharing your culinary discoveries on Instagram or preserving them for your travel journal, mastering the art of street food photography ensures those moments are remembered just as vividly as they were experienced. Even a simple bowl of noodles or a grilled skewer can tell a mouth-watering story with the right food photography tips.
This guide will provide practical techniques, creative inspiration, and essential gear suggestions for capturing stunning street food shots—perfect for your next Instagram food travel post or personal portfolio.
Understanding the Essence of Street Food Photography
Street food photography blends spontaneity with technique. Unlike studio settings, street vendors serve food in dynamic environments with changing light, bustling crowds, and no second takes. That’s what makes it exciting—and occasionally challenging.
Whether photographing a steaming taco stand in Oaxaca or a sizzling satay grill in Jakarta, the aim is to capture more than just food: you’re documenting the atmosphere, the vendor’s craft, and the joy of discovery.
Key Objectives:
- Highlight the authenticity of the street setting
- Showcase the dish’s texture, steam, or freshness
- Frame the vendor’s hand or the stall’s signage to ground the shot in its location
Pro Tip:
Ask Before You Shoot. Some vendors may be camera-shy or consider their recipes trade secrets. A smile and a respectful request go a long way.
Quick Guide of Tips for Better Street Food Photos
| Tip | Why It Matters |
| Use natural light | Keeps colours vivid and textures real |
| Get close | Captures texture and steam |
| Show hands or faces | Adds human connection and context |
| Use portrait mode (if on phone) | Creates shallow depth for focus and drama |
| Keep backgrounds simple | Avoids visual clutter |
| Capture preparation moments | Adds storytelling dimension |
Important Note:
Focus on Detail. Highlight melting cheese, sugar crystals, or sizzling oil droplets. These details evoke texture and flavour, crucial for impactful shots.
Step-by-Step: Taking the Perfect Street Food Photo
1. Scout the Scene First
Observe the space before shooting. Note the lighting direction, traffic patterns, and photogenic stalls. This will help you decide where to stand and when to shoot.
2. Choose the Right Gear
You don’t need a DSLR to take great shots, but having the right equipment helps:
- Smartphone with good low-light performance
- Clip-on lenses (macro/wide-angle) for variety
- Portable LED light (for night markets)
- Lens cloths to clean smudges from food steam
3. Frame for Storytelling
Go beyond the plate. Include:
- The vendor’s hands are preparing the dish
- Smoke rising from grills
- Condiment jars and local signage
- Customers are enjoying the food
4. Adjust Settings Manually (if possible)
Manual controls help in unpredictable lighting:
- Lower ISO to avoid grain (keep it under 800 in daylight)
- Adjust white balance to get colours right under market lights
- Use focus lock to pinpoint key details (like glistening sauce or garnishes)
5. Take Several Shots from Different Angles
Top-down shots are popular, but don’t stop there:
- 45° angle for depth
- Eye level to showcase servings as presented to a customer
- Side profiles for stacked items like burgers or sandwiches
Best Practices & Additional Insights
- Plan Around Golden Hours: Shoot early in the morning or just before sunset for the most flattering light.
- Blend In With the Crowd: Avoid setting up a photoshoot in tight market spaces. Be quick, polite, and mindful of others.
- Use the Rule of Thirds: Enable gridlines on your phone to align key features. This creates balance and draws the viewer’s eye.
- Don’t Forget the B-Roll: Capture surroundings, crowd reactions, closeups of ingredients, and even the money exchange. These all enhance your storytelling.
- Tell a Visual Journey: One perfect photo is excellent, but a set of 3–5 that showcase a dish from prep to plate can be more powerful.
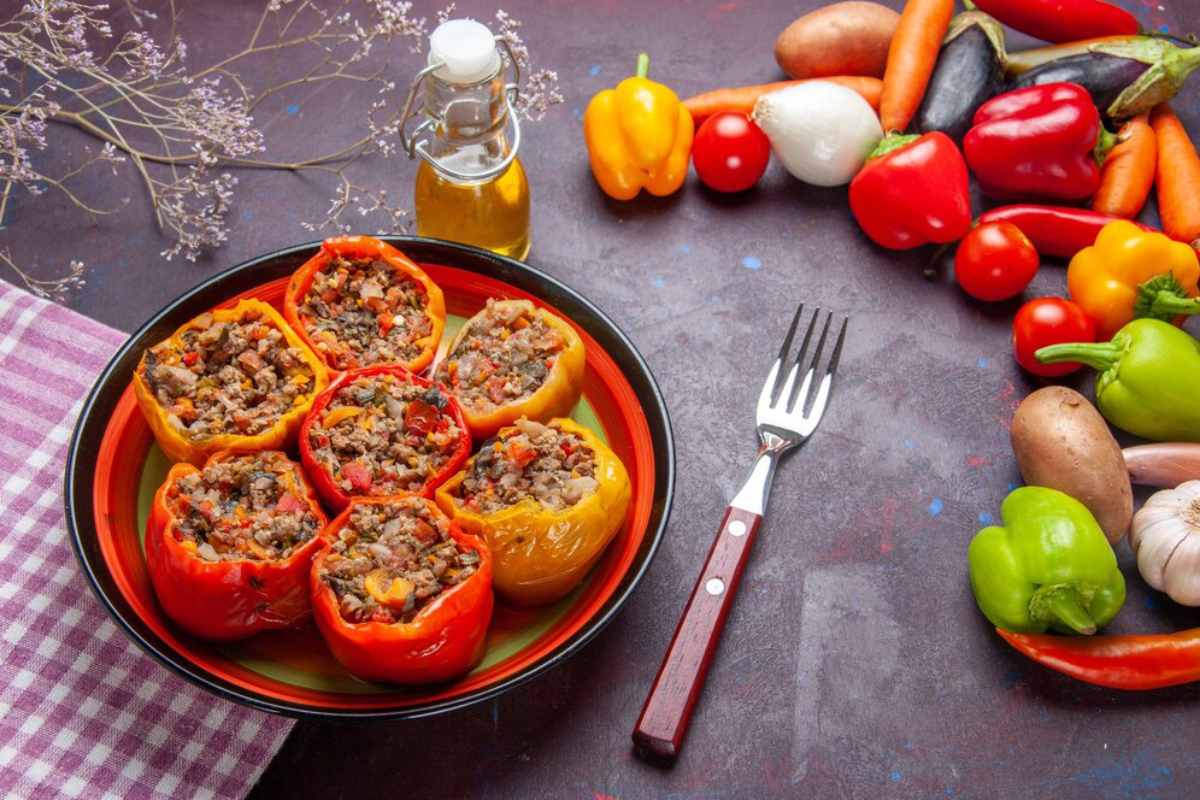
- Experiment with Colour and Contrast: Use bold backdrops (e.g., colourful plates or cloths) to help the food pop. Adjust contrast in editing apps to emphasise the separation between subject and background.
- Incorporate Local Elements: Cultural cues like currency, utensils, traditional attire, or street signs make your photos uniquely tied to their location.
FAQS: Street Food Photography
- What’s the best time to shoot in food markets?
Golden hour offers the softest light. Midday can work if you find shaded areas or use reflectors.
- Is it okay to photograph people in street markets?
Yes, but ask for permission when shooting identifiable individuals. Vendors often appreciate it if you buy something first.
- How can I make food look fresh and appetising?
Shoot quickly after plating, use backlighting to highlight steam, and get close to capture juicy textures.
- Are editing apps acceptable for travel photography?
Absolutely. Use apps like Snapseed or Lightroom Mobile to adjust contrast, saturation, and sharpness without overdoing it.
- What’s the best lens for street food photography?
A 35mm or 50mm prime lens offers a natural field of view and excellent low-light performance. For smartphones, use portrait mode or attach macro lenses.
Frame It, Share It, Savour It: Your Street Food Moments in Focus
From smoky skewers to sugar-dusted pastries, street food shots invite you to explore the world one bite at a time. With these food photography tips, you’ll transform casual snacks into compelling stories.
Get inspired, get snapping—and tag us in your best Instagram food travel posts! Check out our blog for more interesting food facts.


LATEST BLOGS